


Essential Tanning Bed Maintenance Tips: A Professional Reliability Guide
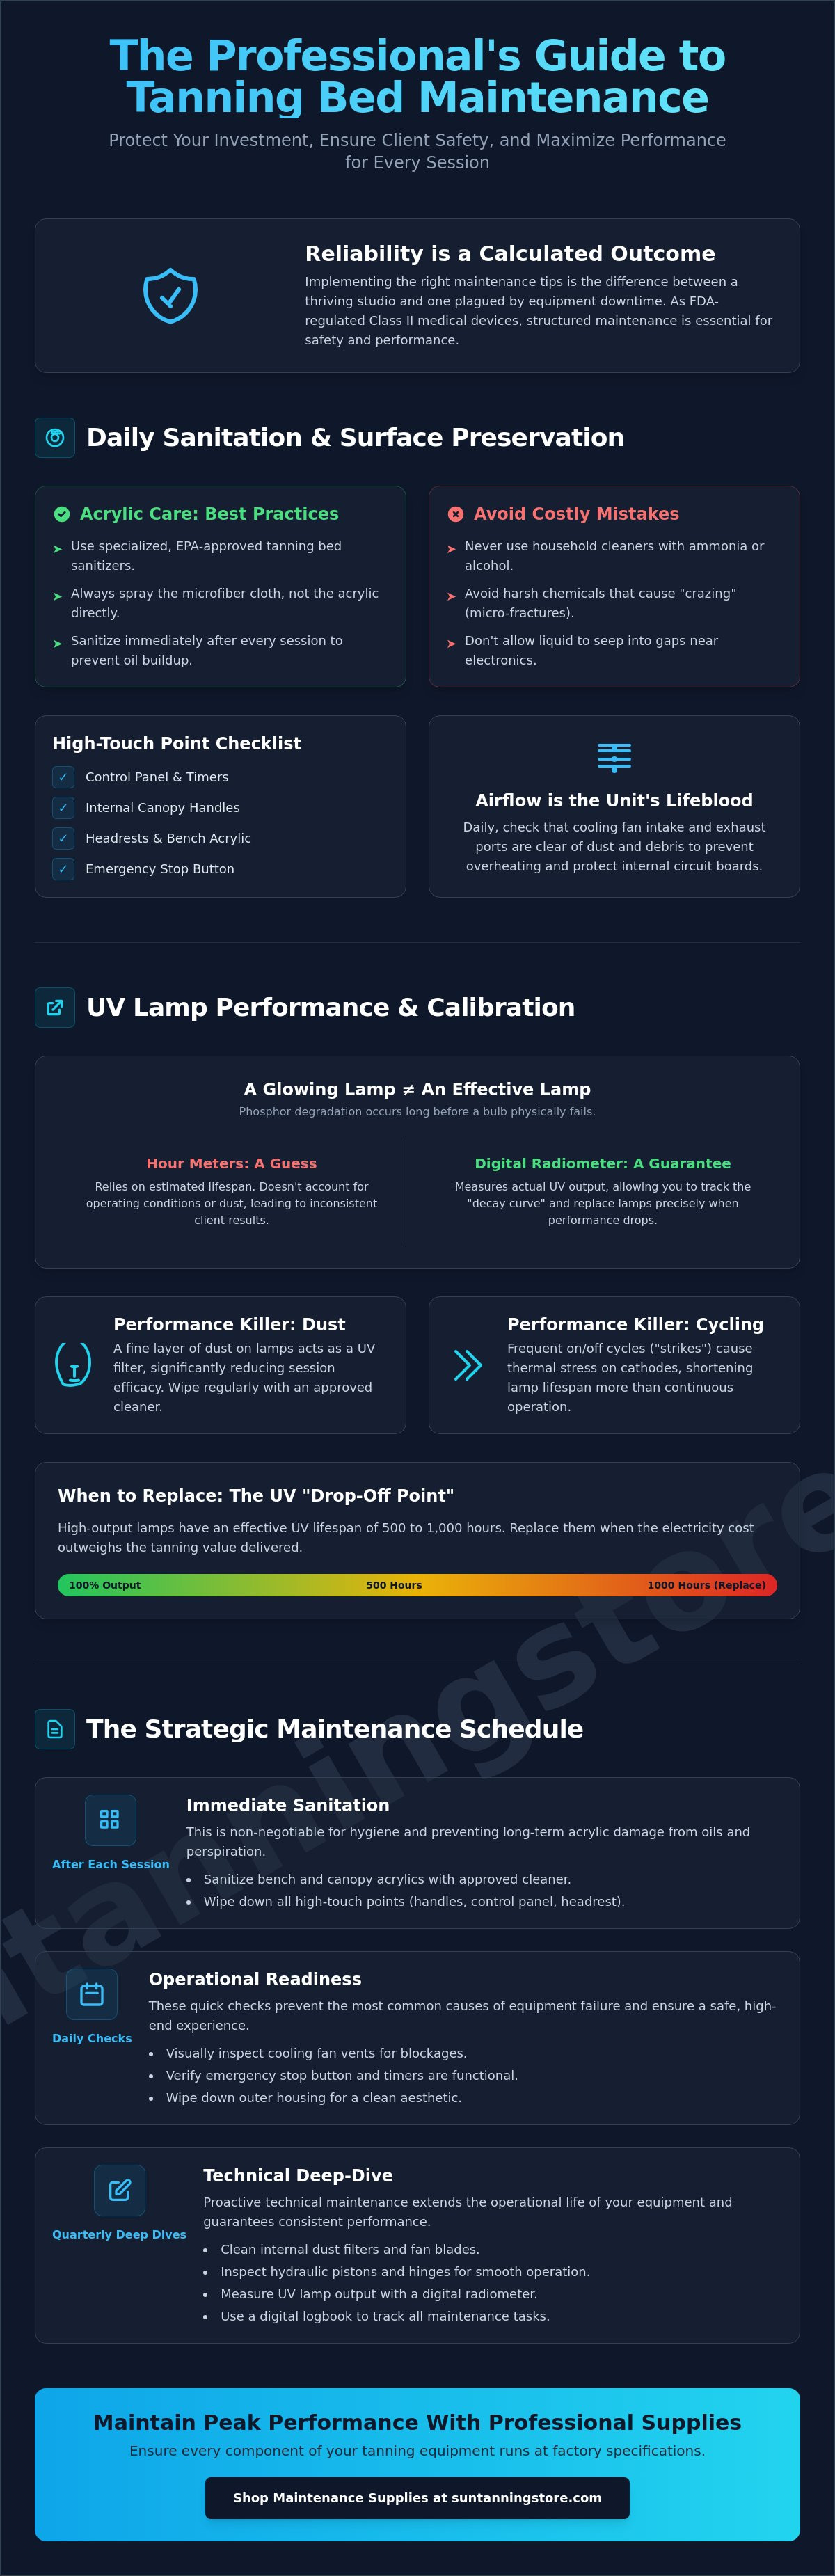
Reliability is not an accident. It's a calculated outcome of technical discipline. When UV intensity drops or a unit overheats, your revenue stops. You've likely noticed that even high-performance systems require a precise touch to maintain peak efficiency. Implementing the right tanning bed maintenance tips is the difference between a thriving studio and one plagued by equipment downtime and customer complaints.
We understand the pressure of maintaining a consistent glow for every user while protecting your investment. You want maximum lamp life and zero technical failures. This article outlines the exact cleaning schedules and mechanical protocols required to keep your equipment running at factory specifications. We'll examine everything from acrylic care, specifically how to avoid those costly cracks, to the airflow management needed to prevent internal component heat stress. Since these are FDA-regulated Class II medical devices, following a structured maintenance plan is essential for safety and performance. By the end of this guide, you'll have a professional roadmap for protecting your hybrid units and ensuring every session delivers the results your clients expect.
Key Takeaways
- Learn why specialized tanning bed sanitizers are non-negotiable for preserving high-touch acrylic surfaces and preventing structural clouding or cracking.
- Master professional tanning bed maintenance tips for calibrating UV output, ensuring your replacement lamps provide consistent tanning results throughout their entire lifecycle.
- Identify the critical cleaning zones for intake vents and dust filter trays to prevent overheating and extend the operational life of sensitive internal circuit boards.
- Discover how to perform preventative inspections of hydraulic pistons and hinges to ensure smooth canopy movement and user safety.
- Establish a tiered maintenance schedule using digital logbooks to distinguish between routine daily tasks and essential quarterly technical deep-dives.
Daily Sanitation Protocols and Surface Preservation
Efficiency drives profit. Daily sanitation isn't just about hygiene; it's about equipment longevity. High-touch surfaces like bench acrylics and handles require immediate attention after every session to prevent the buildup of oils and perspiration. These organic residues, if left untreated, can bake into the acrylic under UV heat, leading to permanent staining and reduced UV transparency. Integrating professional tanning bed maintenance tips into your staff's turnover routine ensures that the equipment remains in peak condition for the next user.
The Science of Acrylic-Safe Sanitizers
Acrylic is a porous material. It's highly sensitive to harsh chemicals. Using household glass cleaners or industrial disinfectants containing ammonia or high concentrations of alcohol will cause "crazing." These are microscopic fractures that eventually turn into visible cracks, compromising the structural integrity of the bed. You must use specialized, EPA-approved tanning bed sanitizers. Most commercial-grade concentrates require a specific dilution ratio to be effective against pathogens while remaining gentle on the surface. When applying, always spray the microfiber cloth rather than the bed itself. This technique prevents liquid from seeping into the gaps between the acrylic and the frame, protecting the sensitive electronics and internal components critical for tanning lamp maintenance from moisture damage.
High-Touch Point Checklist
Precision is key during the disinfecting process. Focus on the control panel, internal canopy handles, and headrests. These areas harbor the most bacteria but are also adjacent to electronic interfaces. Avoid excessive moisture ingress by using a damp, not dripping, cloth. Beyond sanitation, the daily routine should include a quick verification of safety features. Check that the emergency stop button is responsive and that the user-accessible timers are functioning correctly. Don't forget the external aesthetics; wiping down the outer housing and decorative mood lighting maintains the high-end feel of your facility. A consistent checklist ensures nothing is missed during busy shifts.
Airflow is the lifeblood of a tanning unit. Daily inspections must include a visual check of the cooling fan intake and exhaust ports. Dust or debris can accumulate rapidly, especially in high-traffic salons. Blocked vents lead to overheating, which triggers automatic thermal shut-offs and accelerates the degradation of internal circuit boards. A simple five-second check to ensure these ports are clear of obstructions like towels or dust bunnies prevents significant equipment downtime. Following these tanning bed maintenance tips daily minimizes the risk of unexpected service calls and protects the long-term value of your investment.
UV Lamp Management and Performance Calibration
Performance is not a suggestion. It's a technical requirement. A lamp that glows isn't necessarily a lamp that tans effectively. While many salon operators rely solely on internal hour meters, professional tanning bed maintenance tips prioritize actual UV output measurements. Phosphor degradation occurs long before a bulb physically fails. Using a digital radiometer allows you to track the "decay curve" of your lamps, ensuring you provide the UV intensity your clients pay for. Relying on hour counts alone is a gamble; actual output is the only metric that guarantees results.
Cycling kills lamp life. Every time a unit is "struck" or turned on, the cathode undergoes significant thermal stress. Frequent on-and-off cycles (common in high-traffic environments) shorten the lifespan of replacement tanning lamps more than continuous operation does. This is particularly critical for hybrid systems that utilize both UV and red-light technology, as these lamps may have different degradation rates. Dust is another silent performance killer. A fine layer of debris on the lamp surface acts as a UV filter, significantly reducing the session's efficacy. Regular wiping with an approved, non-filming cleaner is essential for maintaining maximum output.
When to Replace Tanning Bed Bulbs for Maximum Results
Identifying the "drop-off point" is vital for operational efficiency. This is the moment where the electricity cost of running the bed exceeds the tanning value delivered to the customer. The average high-output tanning lamp provides an effective UV lifespan of approximately 500 to 1,000 hours, contingent upon the ballast type and the unit's cooling efficiency. Look for visual cues of failure such as blackened ends (mercury migration) or inconsistent color across the lamp's length. If your clients report a "weak" tan despite full session times, your lamps have likely reached their effective end-of-life, regardless of what the hour meter says.
Internal Reflector and Ballast Care
Lamps are only half the story. The reflectors positioned behind the bulbs are responsible for bouncing UV radiation toward the user. Over time, these reflectors can become dull or coated in a film of dust and tanning lotion vapor. Polishing these surfaces quarterly ensures you aren't losing 10 to 15 percent of your UV potential to poor reflection. Additionally, monitor your ballasts for loud humming or excessive heat. These are signs of electrical inefficiency that can lead to premature lamp failure or even fire hazards. Adhering to tanning equipment safety guidelines regarding electrical inspections protects both your facility and your customers. If your unit uses starters, replace them every time you install new lamps to prevent flickering and ensure a clean ignition strike.
Internal Systems: Airflow, Dust, and Cooling
Heat destroys electronics. It's that simple. While UV lamps require specific operating temperatures to maintain peak output, the sensitive circuit boards managing your hybrid system are far less heat-tolerant. Excessive internal temperatures lead to "thermal drift," where components begin to underperform or fail prematurely. One of the most overlooked tanning bed maintenance tips is the routine verification of fan rotation. If a single exhaust fan stalls or rotates in the wrong direction, it causes a heat-soak effect within the canopy, potentially damaging the ballast or the main control board. Hybrid units, which combine UV and red-light technology, generate higher thermal loads than traditional beds, making airflow management a critical priority for salon reliability.
Dust Filter Maintenance and SD Card Management
Clean air is non-negotiable. Professional units, such as the ProSun Onyx, feature dedicated dust filter trays designed to trap airborne particles before they reach the internal cooling fans. You should vacuum these trays weekly to maintain unrestricted airflow. Neglecting this leads to the "burnt dust" smell often reported by users; this is a clear indicator of restricted ventilation and rising board temperatures. Additionally, modern hybrid units often feature internal SD card slots for firmware updates or audio file management. Ensure these slots remain clear of debris and that your firmware is updated to optimize the cooling cycles of the red-light and UV components. Don't forget to clear hair and debris from the front panel easy-move lift areas to ensure smooth mechanical operation.
Cooling and Mist System Upkeep
Mist systems require hygienic precision. If your unit utilizes Qsens or similar water-mist technology, the jerrycans must be cleaned and refilled with distilled water regularly to prevent mineral buildup in the nozzles. Scent cartridges also require inspection for leaks that could damage the unit's frame or internal wiring. For units equipped with AirCo or integrated air conditioning, check the reservoir for condensation buildup. High-humidity environments cause excessive moisture to accumulate, requiring more frequent drainage to prevent internal corrosion. Winterizing these systems is essential if your facility is located in a climate where temperatures drop significantly, as frozen lines will crack the internal delivery system. Regular inspection of the AirCo air-conditioning reservoir ensures that leaks or clogging don't compromise the comfort of the user or the safety of the equipment.
Operational uptime depends on these invisible systems. By treating airflow as a primary maintenance pillar, you ensure the longevity of both the UV lamps and the expensive electronic architecture that powers them. A cool bed is a reliable bed.
Preventing and Correcting Structural Wear
Structural integrity is the foundation of a safe tanning experience. While much focus is placed on lamps and electronics, the physical chassis and mechanical lift systems require equal vigilance. Neglecting the moving parts of your equipment can lead to catastrophic failures or, at the very least, a noisy and unprofessional user experience. One of the most critical tanning bed maintenance tips involves the regular inspection of the internal frame and pedestal for signs of stress or loose fasteners. Over time, the vibrations from cooling fans and the repeated opening of the canopy can cause hardware to back out, compromising the unit's stability. Ensuring every bolt is torqued to factory specifications prevents long-term frame warping.
"Ghosting" is a common structural issue where tanning lotion vapors and perspiration seep under the acrylic and condense on the lamps or reflectors. This creates a hazy film that significantly blocks UV output and creates an unhygienic appearance. Addressing this requires a deep-clean protocol that involves removing the acrylic sheets to access the internal surfaces. If you notice a persistent cloudiness that does not wipe off the top surface, it is time for a teardown. Keeping these internal surfaces polished is just as important as cleaning the exterior.
Acrylic Replacement and Resealing
Removing the bench and canopy acrylics is a precision task. Most modern units utilize an easy-lift system, but you must still handle the sheets with care to avoid scratching or bowing. Once removed, clean both sides of the acrylic and the reflectors with a specialized non-filming agent. When reinstalling, ensure the acrylic is seated perfectly within the frame's gaskets; an improper fit leads to excessive vibration and distracting noise during operation. Tanning bed acrylics should be replaced every 1,500 to 3,000 hours to maintain 100% UV transparency. If you see hairline fractures or deep "crazing" near the edges, replace the sheet immediately to prevent it from shattering under a client's weight. You can find high-quality tanning bed acrylics to restore your unit's safety and performance.
Mechanical Components and Gas Springs
User safety depends on the canopy lift system. Test the tension of your gas springs, also known as hydraulic pistons, monthly. The canopy should stay in place at any angle without drifting downward. If the canopy feels heavy or fails to stay open, the gas springs have lost their internal pressure and require immediate replacement. Lubricate the hinges and pivot points with a silicone-based lubricant to ensure smooth, silent movement. Finally, inspect the electrical cord integrity and NEMA plug connections. Look for signs of scorching or discoloration around the prongs, which indicates a loose connection or electrical arcing. Maintaining these mechanical and electrical connections is a core part of comprehensive tanning bed maintenance tips that protect your business from liability and equipment failure.
The Strategic Maintenance Schedule for Salon Owners
Structure is the backbone of operational reliability. You cannot manage what you don't measure. Establishing a digital or physical logbook for every unit by serial number is the first step toward professional equipment management. This log must track lamp hours, cleaning cycles, and specific part replacements to create a clear audit trail. These tanning bed maintenance tips are most effective when they're part of a tiered hierarchy. By moving from reactive repairs to a proactive schedule, you eliminate the "surprise" factor of equipment failure during your busiest season. A well-maintained logbook also adds significant resale value to your units, proving a history of technical diligence.
Inventory management is equally critical. Don't wait for a component to fail before ordering a replacement. Keep a "critical spares" kit on-site that includes a set of starters, a few replacement lamps, and at least one set of gas springs. This prevents minor wear from turning into days of equipment downtime. Additionally, train your staff to recognize "early warning signs" of impending failure. A change in the pitch of the cooling fans, a lingering smell of ozone, or visible flickering in the lamps should be reported and logged immediately. Early intervention is always more cost-effective than a total system rebuild.
The 1,000-Hour Deep Audit
This is your technical reset point. Every 1,000 hours of operation, your equipment requires a deep-dive inspection that goes beyond surface cleaning. This process includes a full internal vacuuming of the ballast tray and all wiring harnesses to eliminate flammable dust accumulation. You should also perform a complete removal and polishing of all lamps and reflectors to reclaim any UV output lost to "ghosting" or film buildup. Finally, verify the voltage input and amperage draw at the NEMA plug. Ensuring the unit is operating within its electrical specifications protects your facility's infrastructure and confirms that the internal components aren't being overstressed by power fluctuations.
Sourcing Professional Parts and Support
Warranty preservation depends on part authenticity. Using unauthorized or "universal" components often voids manufacturer warranties and can lead to dangerous electrical mismatches. This is especially true for hybrid systems where the ballast is tuned for a specific spectral output. Always verify lamp compatibility for your exact bed model before installation. High-performance units require precision-engineered components to maintain their safety ratings and tanning efficacy. Keep your equipment running at peak performance with genuine ProSun replacement parts to ensure long-term reliability. By following these professional tanning bed maintenance tips and utilizing authorized distributor support, you protect your investment and guarantee a consistent, high-quality experience for every client.
Securing Long-Term Operational Efficiency
Maintaining professional standards requires more than just a quick wipe-down. It demands a tiered approach that prioritizes both surface hygiene and internal system health. By implementing these tanning bed maintenance tips, you'll ensure that your equipment delivers consistent UV intensity while avoiding the costly downtime associated with overheating or component failure. It's the most reliable way to extend the lifespan of your hybrid systems and protect your profit margins. Technical discipline ensures your clients receive the premium experience they expect every time they visit your facility.
We're here to support your salon's reliability. As an authorized ProSun distributor, we offer national shipping on all essential maintenance components. Our team provides professional-grade technical support to help you identify the correct specifications for your specific bed models. Browse our full catalog of ProSun replacement lamps and acrylics to secure the parts you need for your next scheduled audit. Your equipment is the heart of your business. Invest in its longevity today and enjoy the peace of mind that comes with a perfectly maintained tanning environment.
Frequently Asked Questions
How often should I clean the dust filters on my tanning bed?
Clean your dust filters at least once a week to ensure optimal airflow. In high-traffic salons or environments with significant airborne particles, semi-weekly inspections are necessary. Clogged filters restrict air delivery to the ballasts and circuit boards, which causes internal temperatures to spike and often triggers automatic safety shut-offs. Regular vacuuming of these trays prevents the accumulation of debris that can lead to expensive electronic failures.
Can I use regular glass cleaner on tanning bed acrylics?
Never use standard household glass cleaners on tanning bed acrylics. These products frequently contain ammonia or alcohol, which strip the plasticizers from the acrylic material. This chemical reaction leads to "crazing," a network of fine microscopic cracks that compromise structural integrity and significantly block UV transmission. Only use EPA-approved, specialized sanitizers specifically formulated for porous acrylic surfaces to maintain clarity and safety.
How do I know if my tanning bed lamps are losing their effectiveness?
Measure actual UV output with a digital radiometer rather than relying solely on hour meters. While hour counts provide a baseline, they don't account for the natural phosphor degradation or voltage fluctuations that impact performance. If your radiometer readings show a 20% to 30% drop from the lamps' initial baseline output, it's time for a replacement. This ensures your clients receive the results they pay for without extending session times.
What happens if I don’t replace my tanning bed acrylics regularly?
Neglecting acrylic replacement leads to "solarization," a process where the material becomes less permeable to UV rays over time. Even with brand-new lamps installed, an aged, solarized acrylic sheet can block a significant percentage of tanning power. Furthermore, older acrylic becomes increasingly brittle. This increases the risk of structural failure or shattering under the weight of a user, creating a major liability for your facility.
Is it necessary to hire a technician for lamp replacement?
Most salon operators can perform lamp replacements without hiring a professional technician. It's a straightforward mechanical task that involves rotating the bulbs to unlock them from the sockets and seating the new ones firmly. Always disconnect the power supply before opening the canopy for service. Avoid touching the new lamps with bare hands, as skin oils can create "hot spots" on the glass that shorten the lamp's lifespan.
How can I tell if a ballast is failing in my tanning bed?
A failing ballast typically manifests as a "lazy" lamp that takes significantly longer to ignite than the others in the unit. You may also notice a loud, metallic humming sound or excessive heat radiating from the ballast tray area. If a lamp flickers constantly or develops blackened ends despite having low hours, the ballast is likely delivering inconsistent voltage and requires immediate technical inspection.
Why is my tanning bed canopy getting much hotter than usual?
Excessive canopy heat is usually caused by a stalled cooling fan or a blocked exhaust vent. Check that all internal fans are rotating freely and that no towels or dust bunnies are obstructing the airflow path. If the ventilation system is clear, the overheating may indicate a failing thermal sensor or a heavy build-up of dust on the internal cooling fins, which prevents efficient heat dissipation.
What is the best way to track maintenance hours for multiple beds?
Implement a digital logging system that tracks every unit in your fleet by its specific serial number. Record the exact date of lamp installation, current hour-meter readings, and monthly radiometer measurements to create a data-driven history. Following these structured tanning bed maintenance tips allows you to predict part failures before they happen, ensuring your salon maintains 100% equipment uptime during peak seasons.